XXL Kit for Arduino
Part 1 What's in the box
- Beginner
- Ages 8+
- about 20 min
The XXL kit for learning to program, with an Arduino-compatible ATmega328, is one of the best ways to start in electronics: 36 items, from a plain LED all the way to an RFID reader and a stepper motor. This post is a map of the box. Before you write your first line of code, find out what you are holding in your hand and what it is for.
Who is it for? For children and teenagers aged 8 and up, for teachers, and for adults who have always wanted to try their hand at electronics.
01
The basics and connections
Without these five things you cannot build anything. They are the foundation of every later part of the series.
From the kit
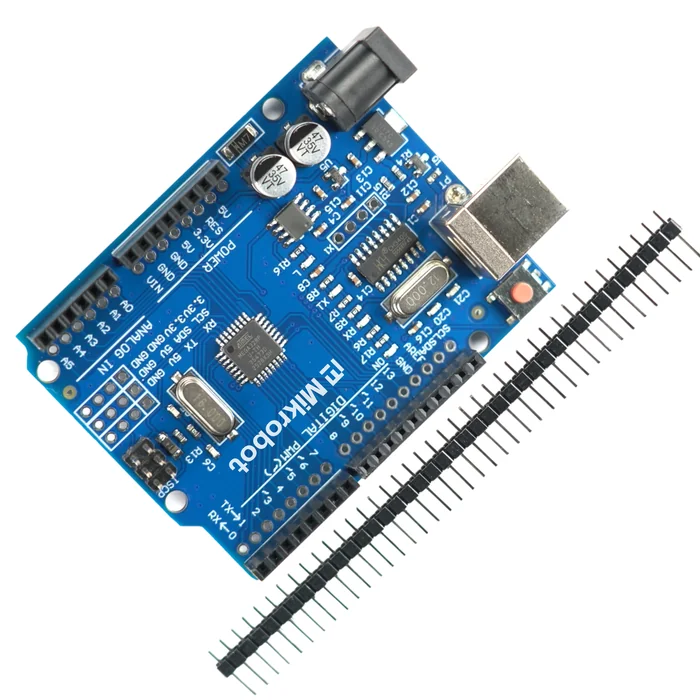
1. Arduino-compatible R3 board
The “brain” of every project. The main control board with the ATmega328 chip. Your code goes here, and this board reads the sensors and powers the parts.
From the kit
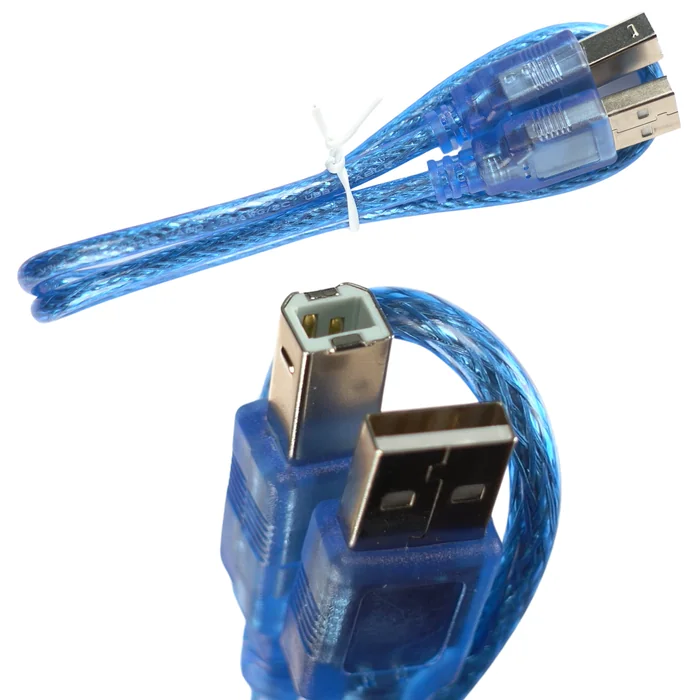
2. USB A-B cable
Program and power in one cable. It connects the board to the computer to send the program over, and it powers the whole circuit at the same time.
From the kit
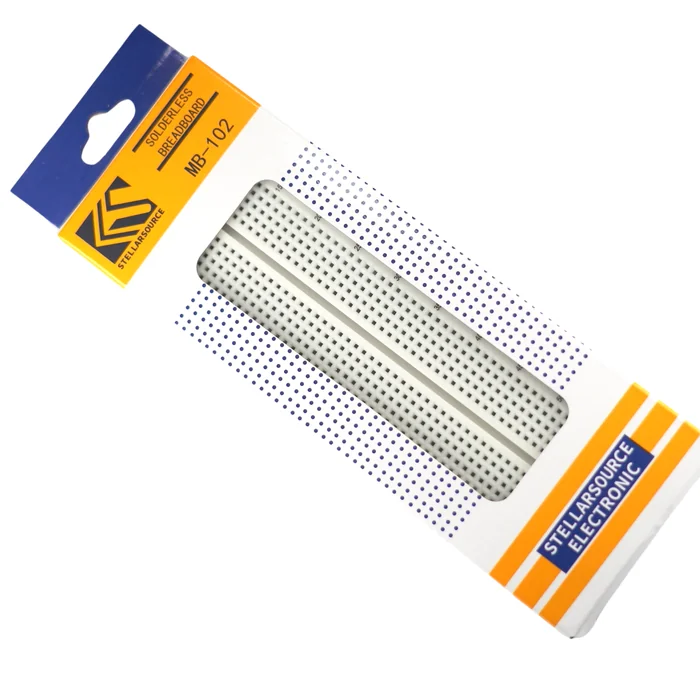
3. 830-point prototyping breadboard
Zero soldering. It lets you connect components easily: you push them in, test, and move them. The most important tool while you are learning.
From the kit
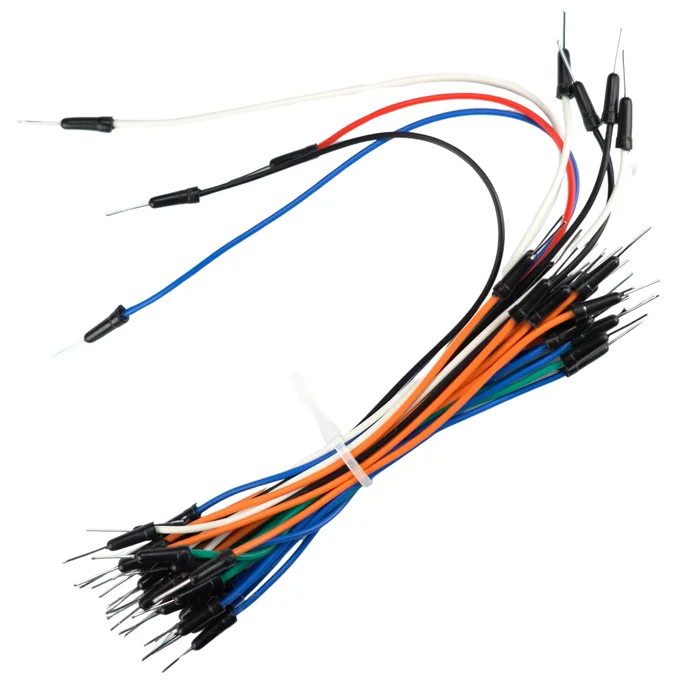
4. 65 jumper wires for the breadboard (male-to-male)
The basic connections. They connect components on the breadboard to each other and to the pins of the control board.
From the kit
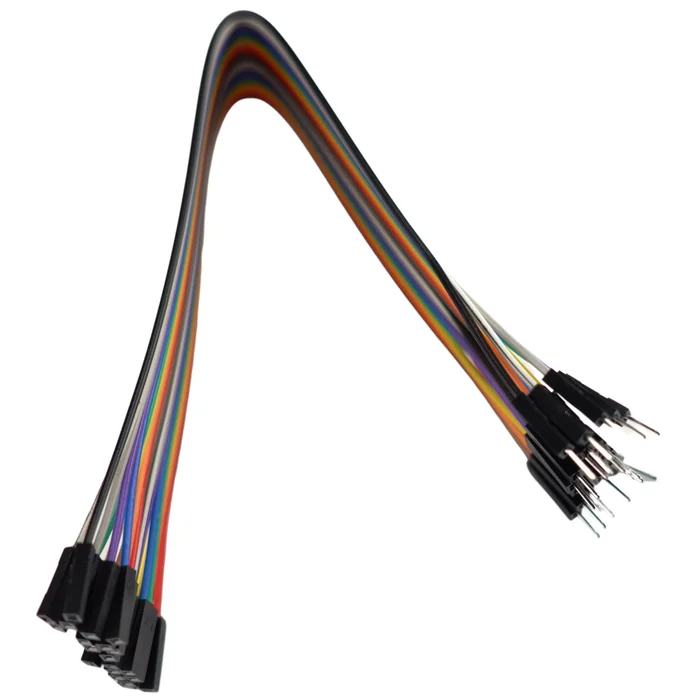
5. Set of 20 female-to-male jumper wires
For ready-made modules. They come in handy wherever a component has pins of its own sticking out: sensors, displays, the servo.
02
Light and displays
The most satisfying part of the kit: you see the result right away, without hours of debugging.
From the kit
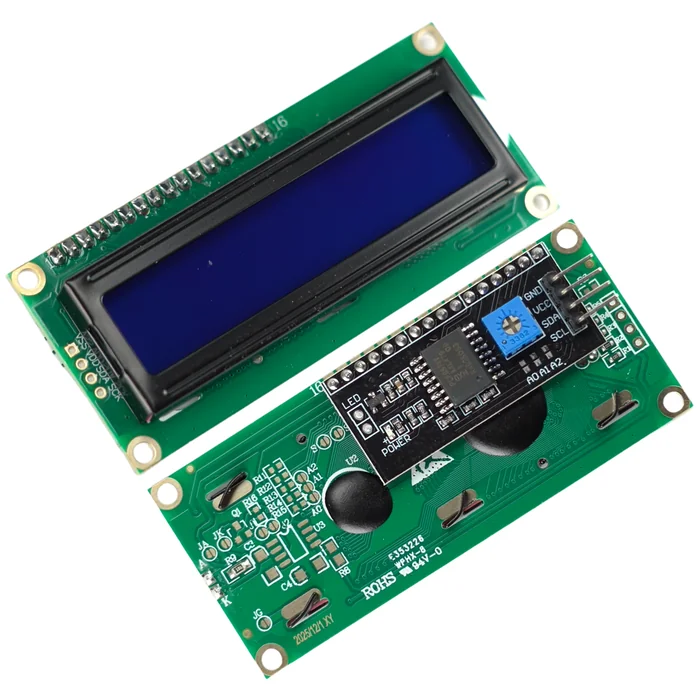
6. 2x16 LCD display 1602 + HD44780 LCD adapter
Two lines of 16 characters. It shows text in your projects, and the adapter that comes with it drastically cuts the number of wires you need. Ideal for thermometers, clocks and simple menus.
From the kit
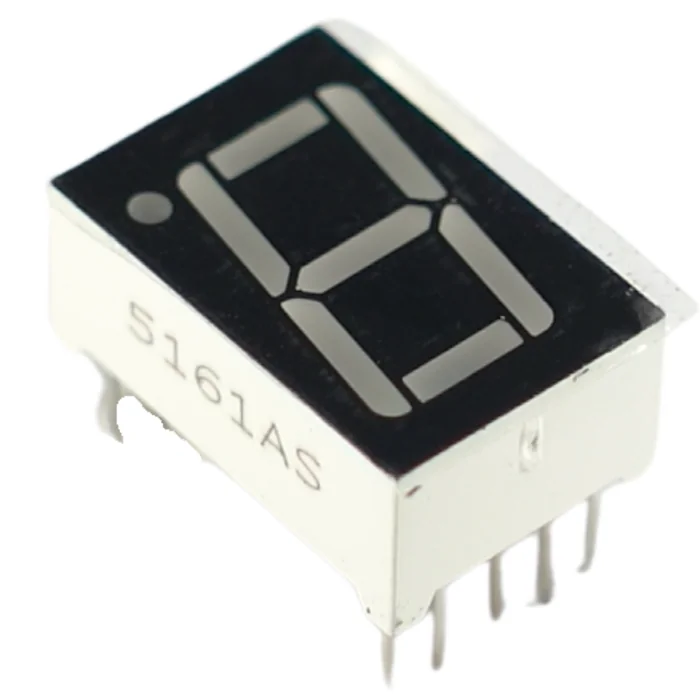
7. 1-digit 7-segment display
One digit, lots to learn. It is great at showing how a digit on a display is “made” out of single segments.
From the kit
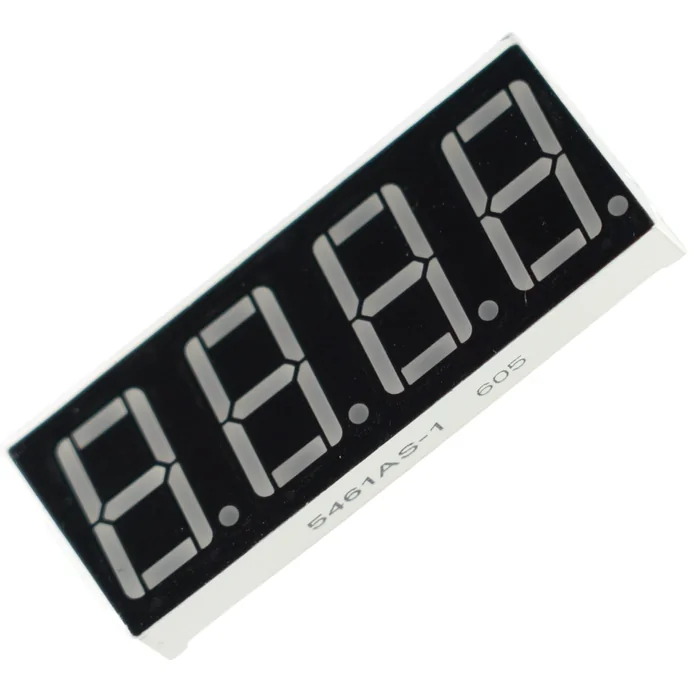
8. 4-digit 7-segment display
Four digits side by side. Clocks, counters, stopwatches and measurement results.
From the kit
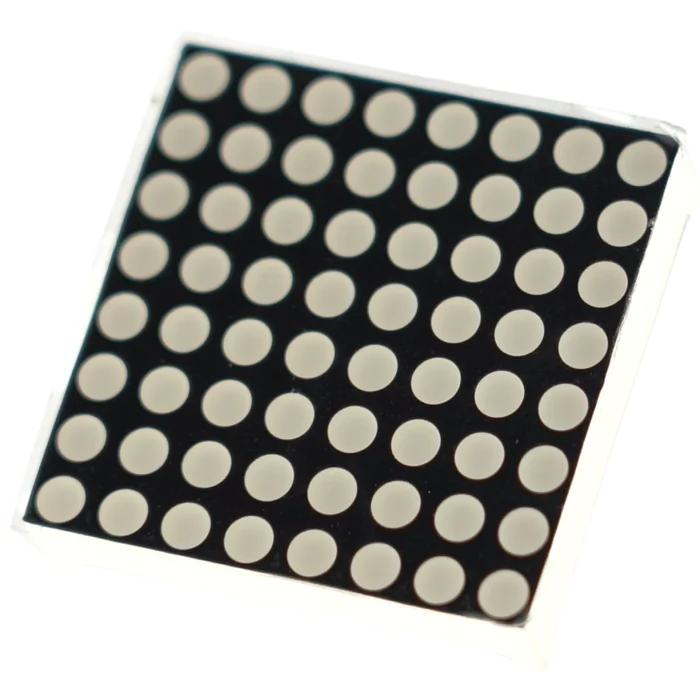
9. 8x8 LED matrix
64 LEDs to play with. It lets you make simple animations and show characters, icons, scrolling text and very simple games.
From the kit
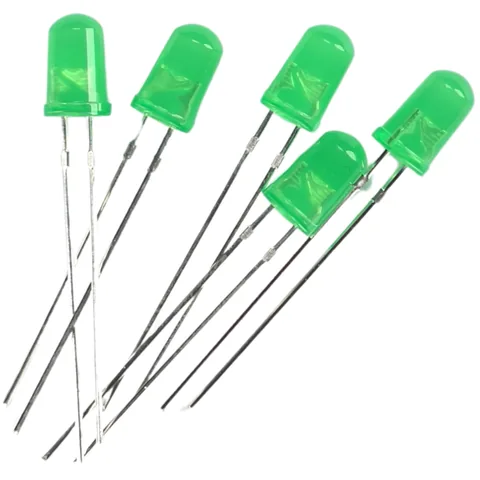
10. Green LEDs (5 pcs)
The signal for “OK”. The first part you will ever light up: the classic “Blink” project.
From the kit
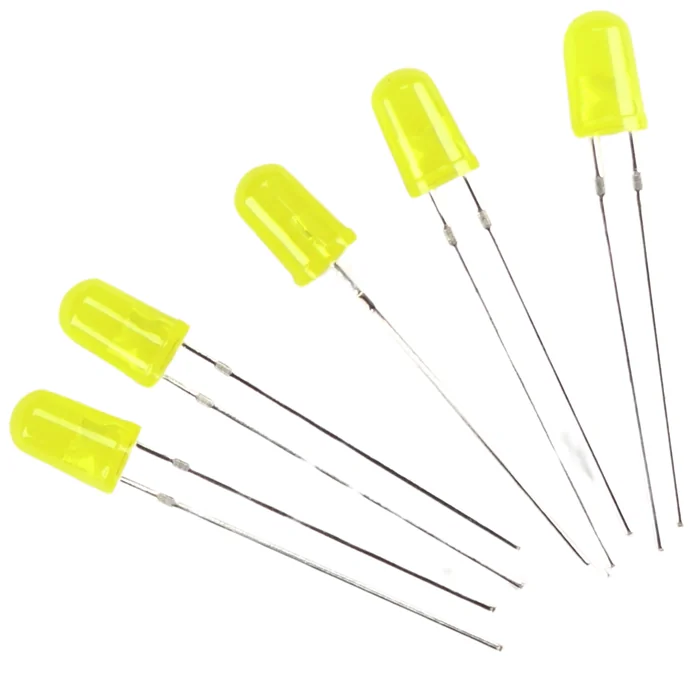
11. Yellow LEDs (5 pcs)
A warning and the state in between. The middle light in a traffic light project.
From the kit
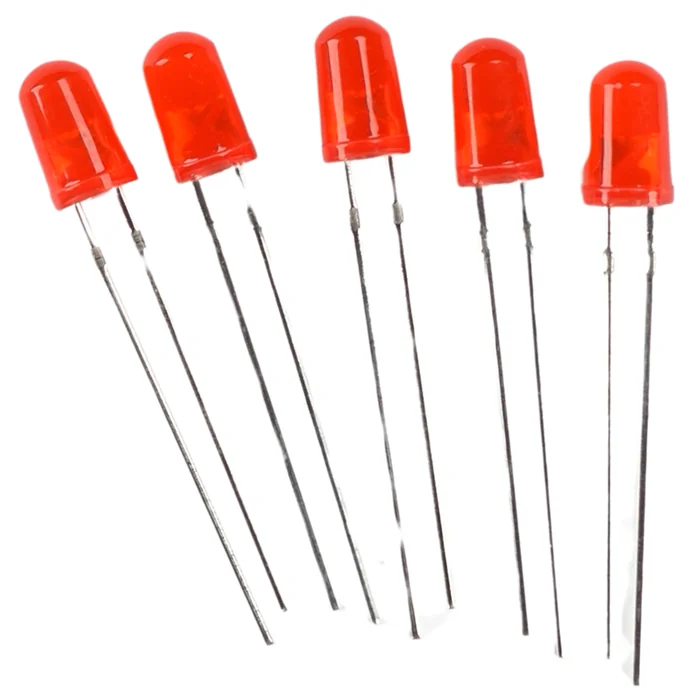
12. Red LEDs (5 pcs)
Alarm, error, “stop”. The color used most often in projects that signal something.
From the kit
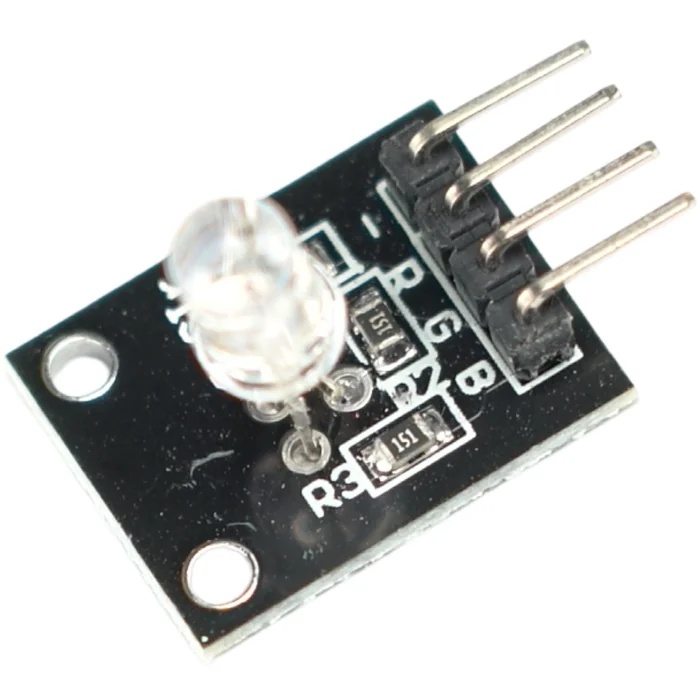
13. RGB LED
Three colors in one case. By mixing red, green and blue you can get practically any color of light.
03
Control and inputs
Everything a person uses to tell the circuit what to do.
From the kit
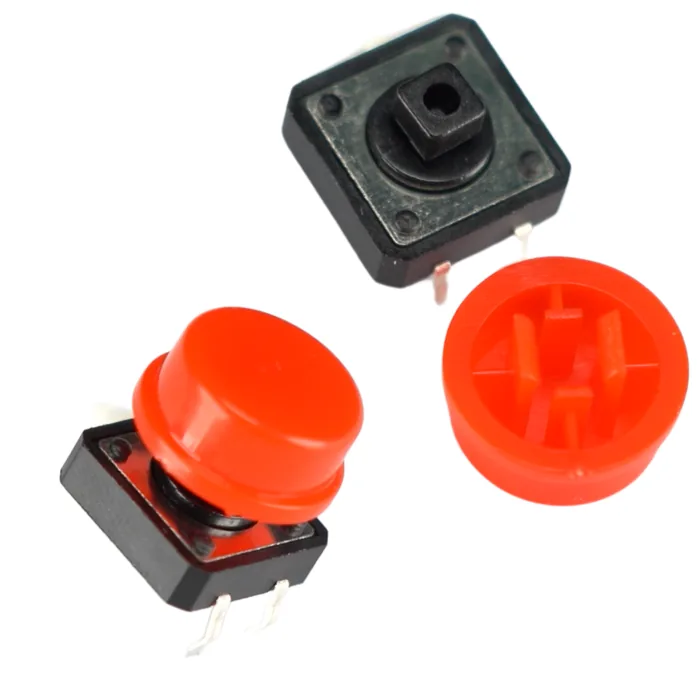
14. Tact switch button + caps (5 pcs)
The classic momentary button. The basic way to put data into a project: digital inputs, menus, starting an action by hand.
From the kit
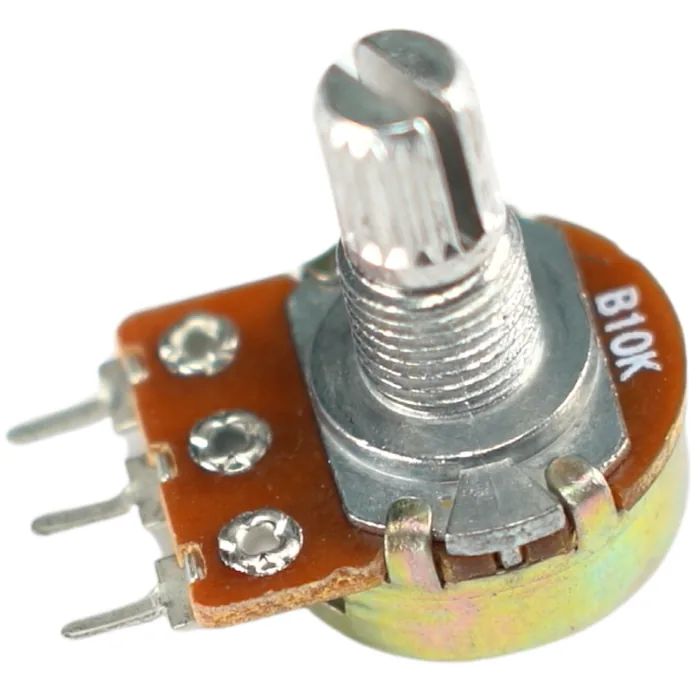
15. 10k Ohm potentiometer
Smooth control. You turn it and change a value: the brightness of an LED, the contrast of the LCD, the position of the servo.
From the kit
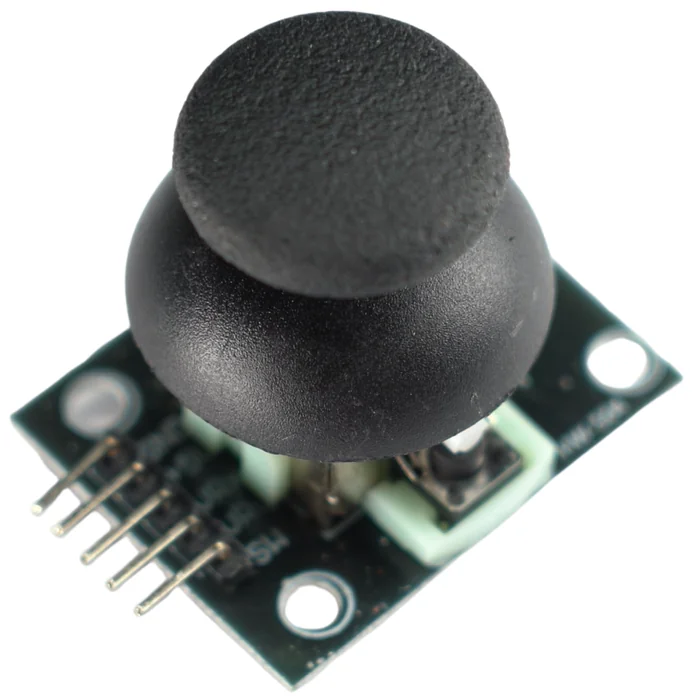
16. Joystick module
Two axes plus a button. It lets you control things by moving a stick: a robot, a cursor on a display or a simple game.
From the kit
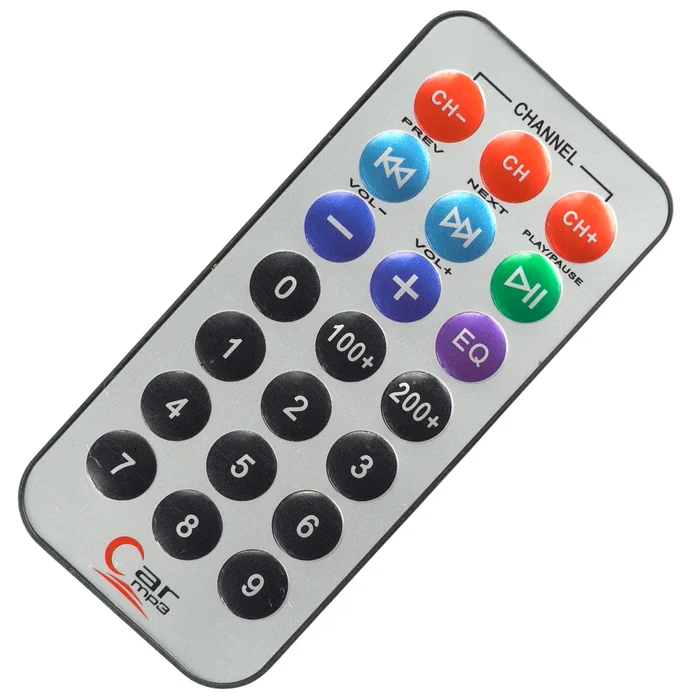
17. IR remote control
Control from the couch. It sends commands to your project with infrared signals.
From the kit
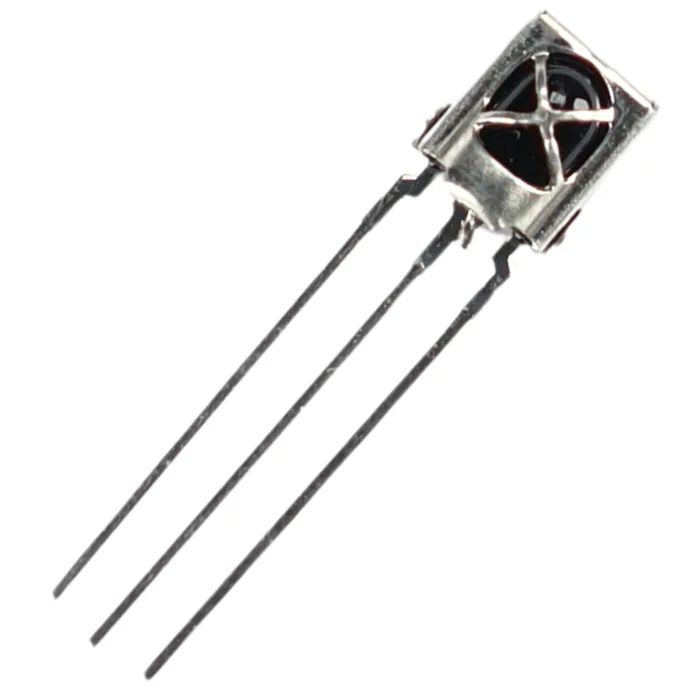
18. Infrared (IR) receiver
The ear of your project. It receives codes from the remote in the kit, and from a TV remote too.
From the kit
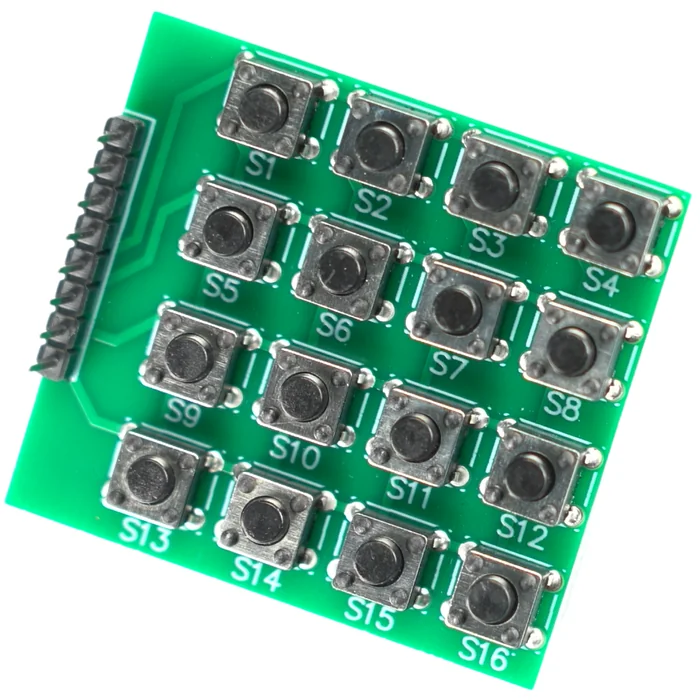
19. 16-key matrix keypad
A full numeric keypad. It lets you build interactive projects, such as PIN code systems, using only eight pins.
From the kit
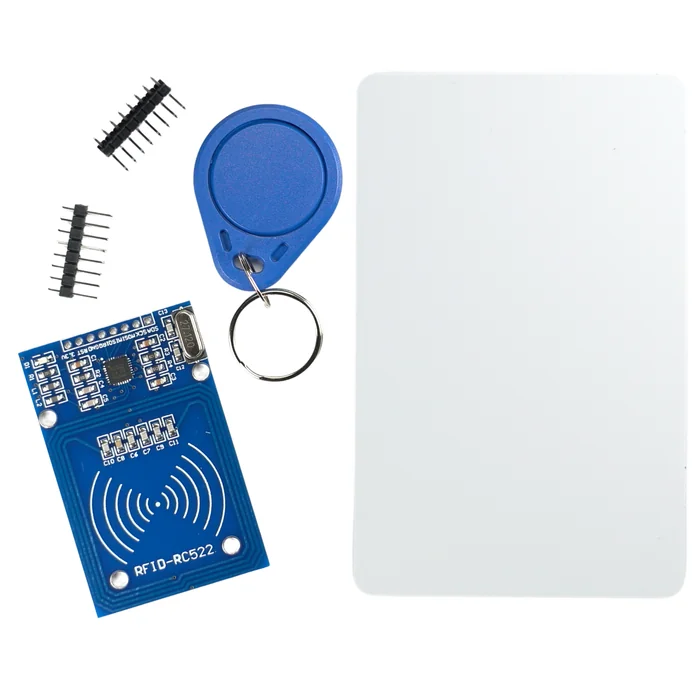
20. RFID reader, card and key fob
Identification by touch. Used wherever a user has to be recognized: locks, attendance systems, access cards.
04
Sensors: a circuit that sees and hears
This is where the real fun begins: the project stops being static and starts reacting to its surroundings.
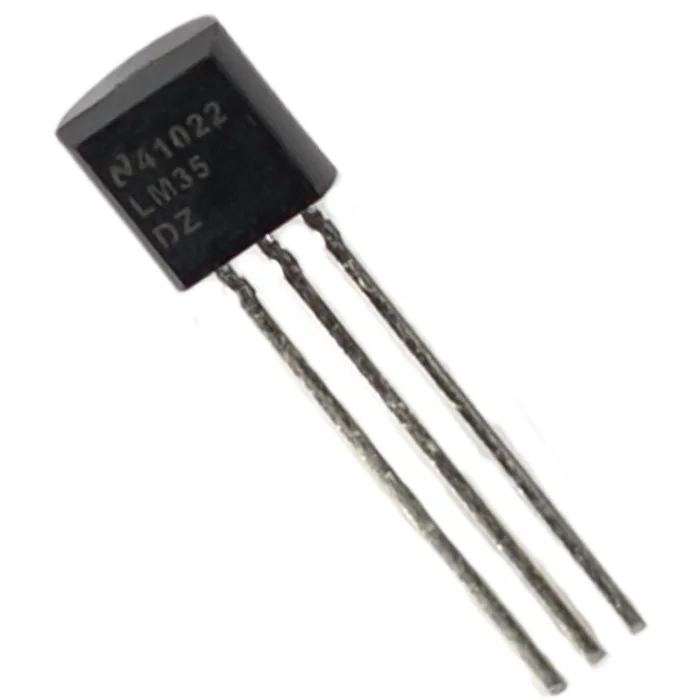
From the kit
21. LM35DZ temperature sensor
Analog temperature measurement. Perfect for understanding how to turn a voltage you have read into degrees Celsius.
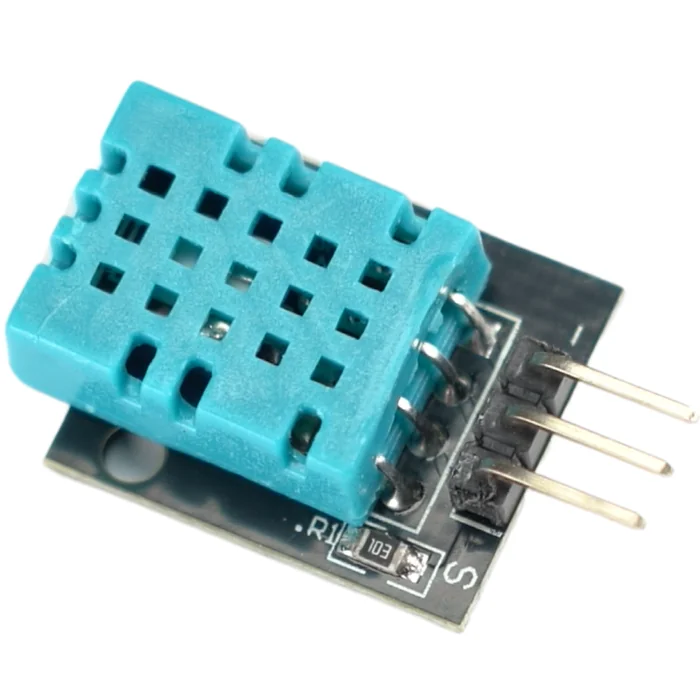
From the kit
22. DHT11 temperature and humidity sensor module
Temperature and humidity in one. A digital module that measures the conditions in a room. The basis of a home weather station.
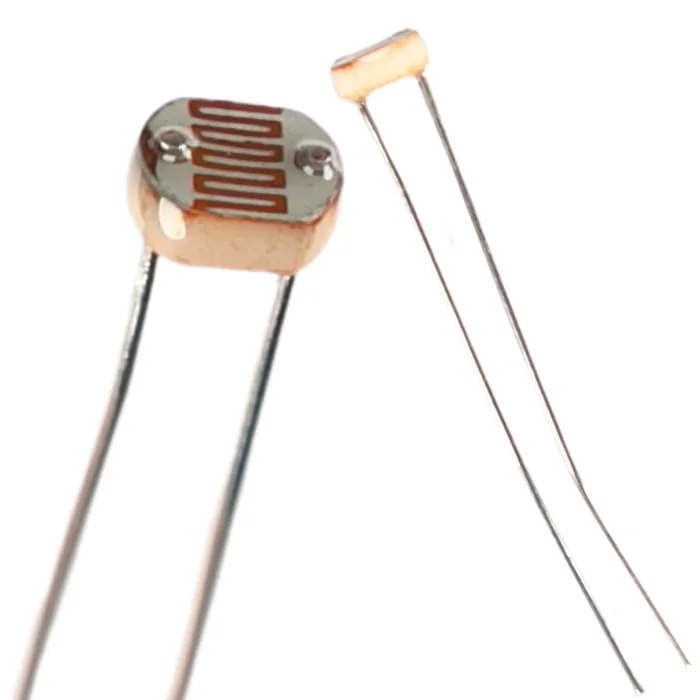
From the kit
23. GL5528 photoresistor 10k-20k – 5mm LDR (3 pcs)
A light sensor. It reacts to changes in the light level: an automatic lamp, a dusk sensor, a counter of people walking past.
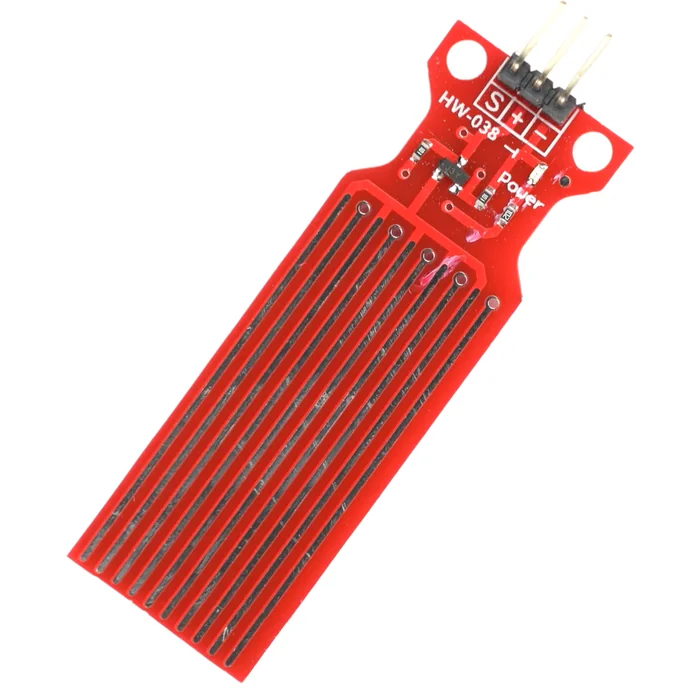
From the kit
24. Water (liquid) level sensor – analog
It detects the level of a liquid. It works well in tanks, aquariums and flower pots.
From the kit
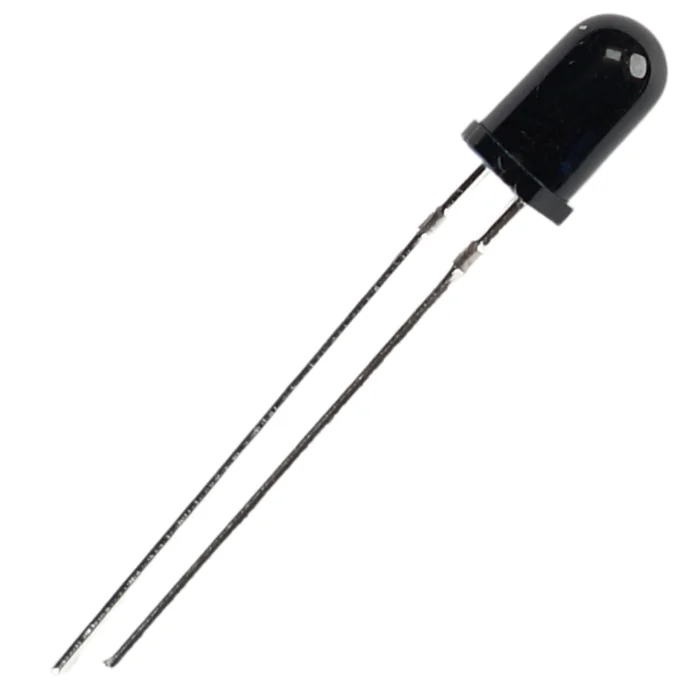
25. Flame sensor
It reacts to a flame. The heart of a simple alarm project that detects fire or smoke.
From the kit
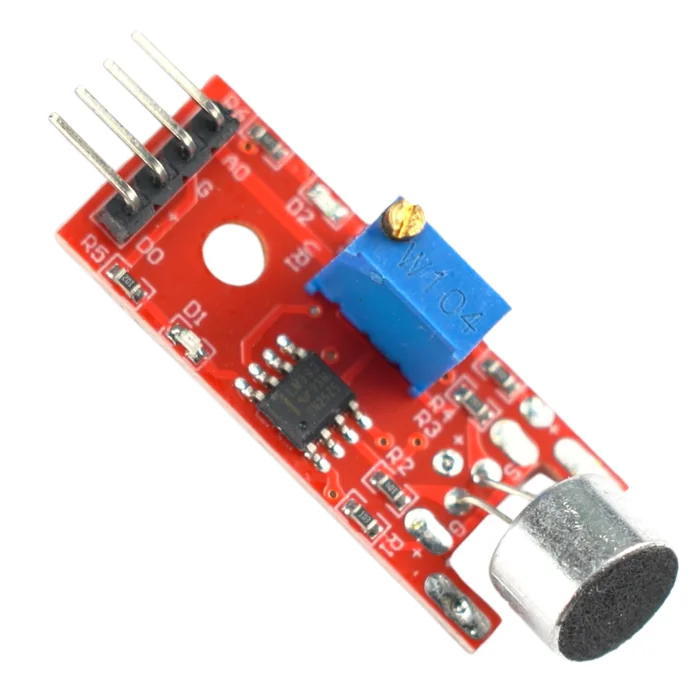
26. Sound sensor (“clap sensor”) – microphone, noise detector
Turning on the light with a clap. It detects sounds around it and lets you react to a sudden noise.
From the kit
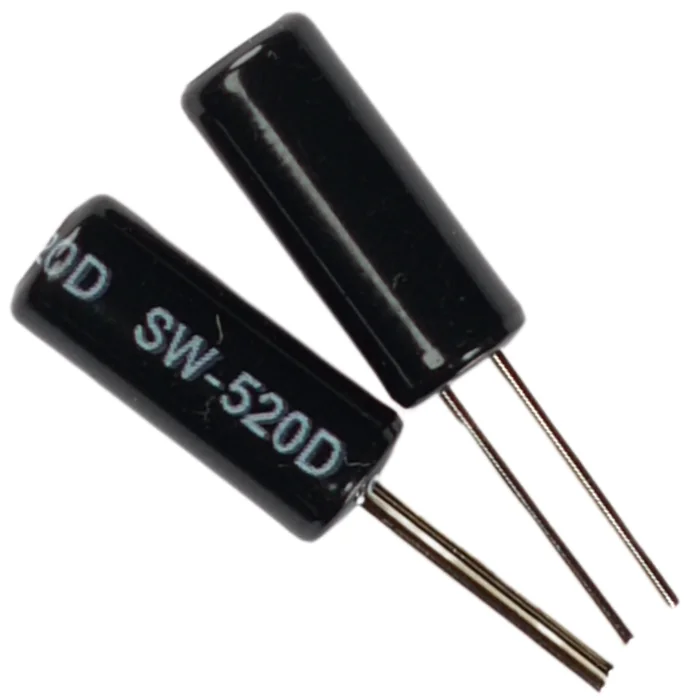
27. SW-520D vibration sensor (2 pcs)
It detects shocks and tilting. Alarm projects, an electronic dice, a motion counter.
05
Actuators: a circuit that moves and makes noise
Until now the project only watched. Now it will start to act.
From the kit
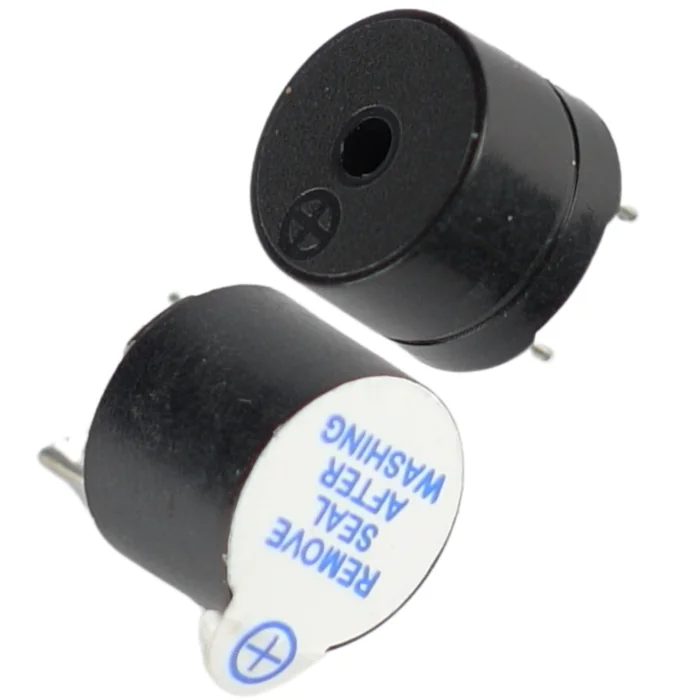
28. Active and passive buzzer
Two different sounds. The active one beeps by itself when it gets voltage, and on the passive one you can play a melody. Alarms and sounds that confirm an action.
From the kit
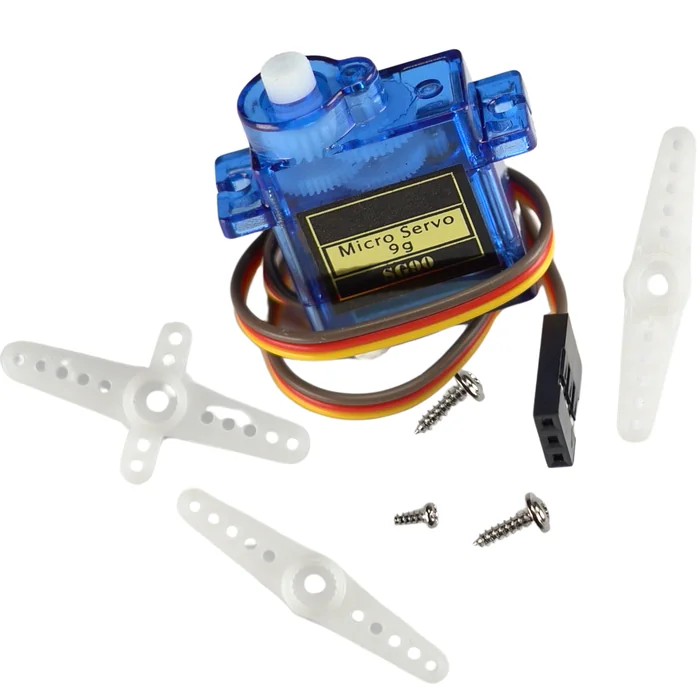
29. Tower Pro SG90 9G 180° servo
A precise turn to a set angle. A barrier gate, a gripper, a robot's turning head, the needle of a gauge.
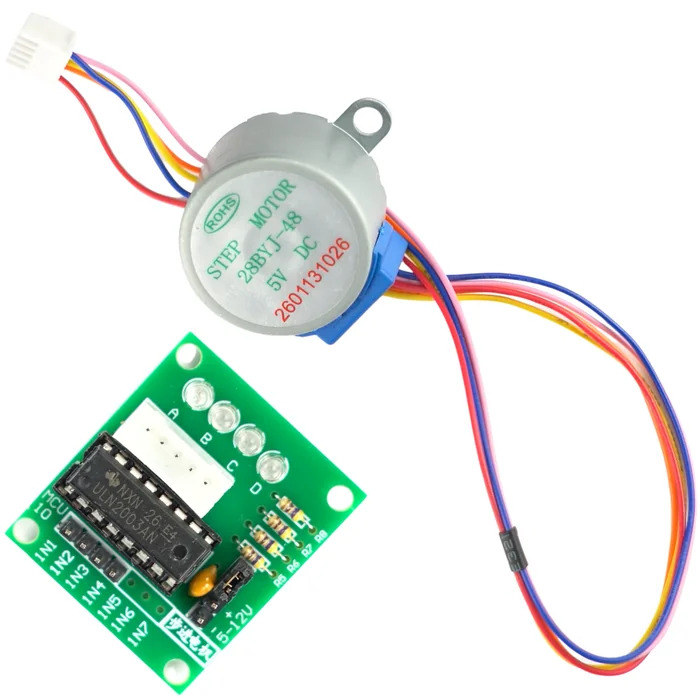
From the kit
30. 28BYJ-48 stepper motor and ULN2003 V2 driver
Movement accurate to a single step. The motor lets you control movement precisely in robot projects, and the driver sits between it and the microcontroller.
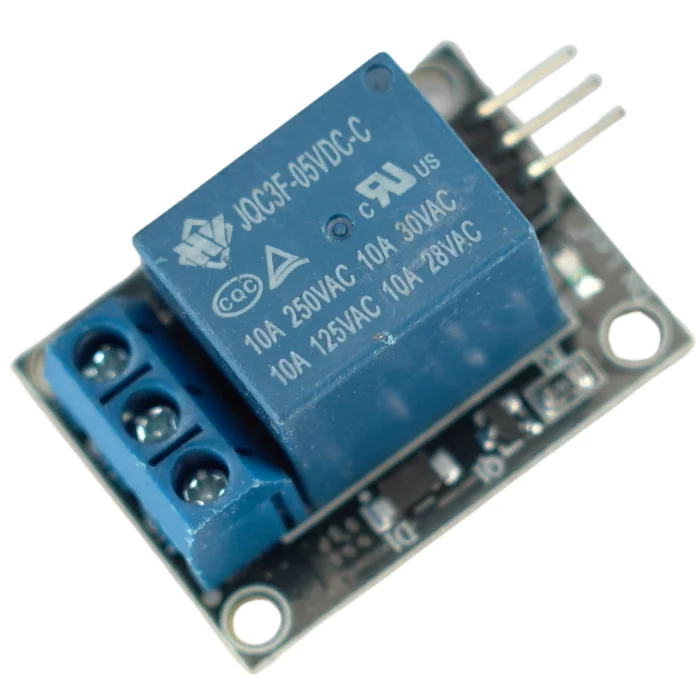
From the kit
31. 5V 10A relay module
A small board switches a big load. It lets you control higher-power devices from the microcontroller.
06
Logic and time
Two chips that solve problems a beginner only finds out about in practice.
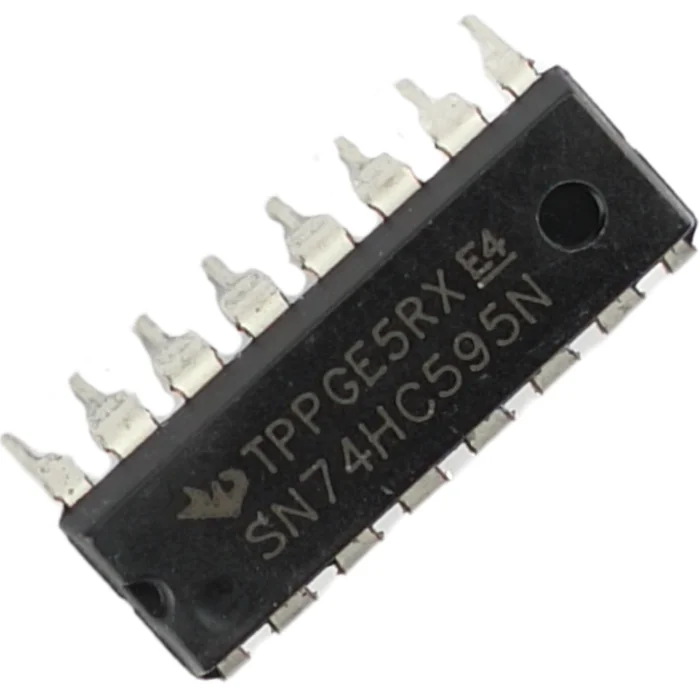
From the kit
32. 74HC595N shift register
Three pins instead of eight. It lets you control many devices using just a few pins. A lifesaver when you run out of outputs.
From the kit
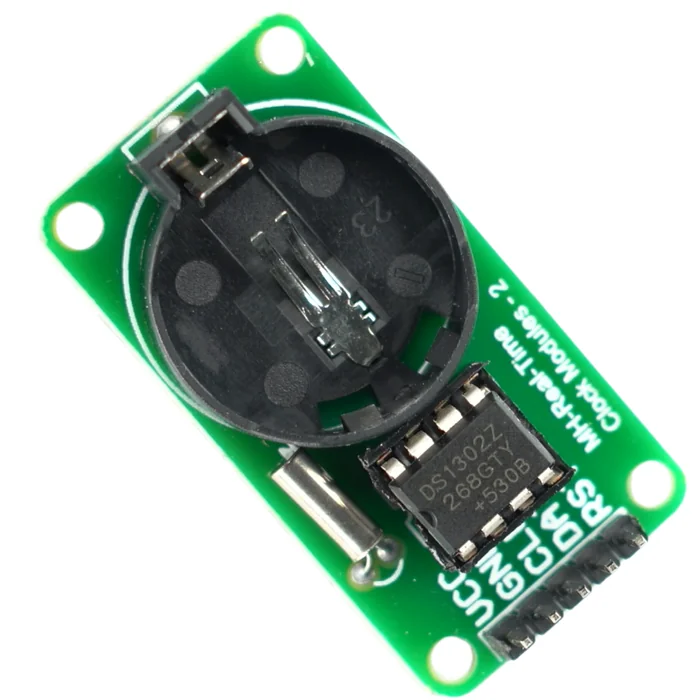
33. Real-time clock (RTC) module
It keeps time even after the power is disconnected. Ideal for clocks, alarm clocks and loggers that stamp every measurement with the time.
07
Power and accessories
From the kit
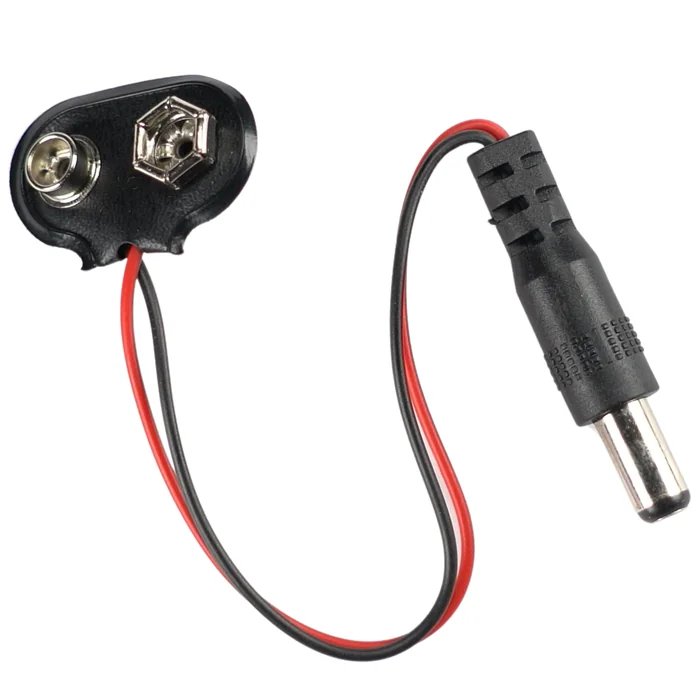
34. 9V battery clip with a DC plug
A project without a cable. You unplug USB, connect a 9 V battery and the device becomes mobile.
From the kit
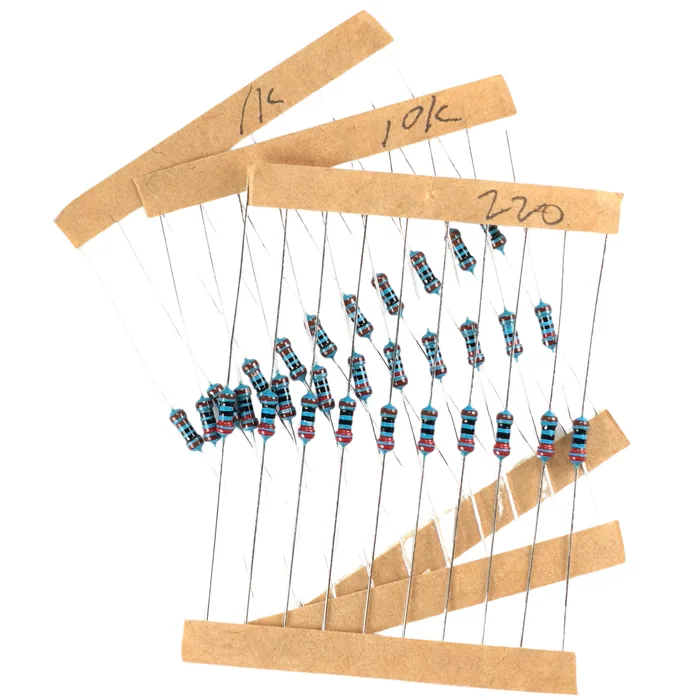
35. Set of resistors
They limit the current in a circuit. They protect the LEDs and the pins of the board. The ones you will reach for most often are 220 Ω and 10 kΩ.
From the kit
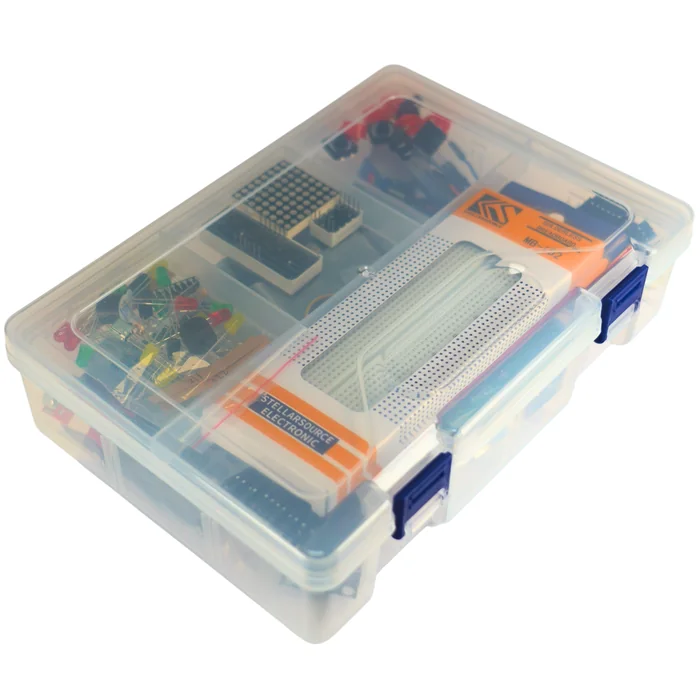
36. Sturdy organizer box
The boring hero of the kit. Thanks to it you are not hunting for a resistor under the couch half an hour before the end of the lesson.
08
What you will build in this series
This is not a list of ideas “to think about”. These are devices that really get built in the coming parts, step by step. You put each one together only from what is in the box, and each one ends up doing something you can show to somebody else.
| # | Project | Level | What you will use | What it can do in the end |
|---|---|---|---|---|
| 1 | Robot arm control panel | 🟢 easy | potentiometer, servo, button, buzzer, LEDs | You turn the knob and the arm glides right and left, the button stops it in place, and the buzzer confirms the move. The first device that has a control panel and not just a blinking LED. |
| 2 | Electronic piano | 🟢 easy | 4x4 matrix keypad, passive buzzer | Sixteen keys, each one playing its own note. You can play a melody on it, and hear that the pitch of a sound is simply a number in the program. |
| 3 | Smart lighting | 🟡 medium | photoresistor, sound sensor, relay, LED | The light comes on by itself at dusk or when you clap. The same mechanism as in the hallway lamp with a dusk sensor. |
| 4 | Proximity card lock | 🟡 medium | RFID reader with a card and a key fob, relay, LEDs | You hold up your card: the green LED lights and the relay clicks. You hold up somebody else's: the red one lights and nothing happens. Like an entry phone or the card to a hotel room. |
| 5 | Weather station with a display | 🟡 medium | DHT11, LM35DZ, 2x16 LCD display | The temperature and humidity of your room on your own display, refreshed all the time. On the way you will see how an analog sensor differs from a digital one. |
| 6 | Snake with a scoreboard | 🔴 ambitious | 8x8 LED matrix, joystick, 74HC595 register, 1-digit 7-segment display | A real game you can play: a snake on the matrix, steered with the stick, the score on a separate display, and a high score that survives the power being disconnected. |
| 7 | Dance sequencer | 🔴 ambitious | matrix keypad, 2x16 LCD, 28BYJ-48 stepper motor, buzzer | You tap out the choreography on the keypad, you see it on the display, and the motor performs it, with a note matched to the speed of the turn. Four modules playing on the same team. |
| 8 | The alarm clock that stays on your desk | 🔴 ambitious | RTC module, 2x16 LCD, buzzer, 9 V battery clip | The finale of the series: you unplug the USB cable and the device keeps running on a battery and wakes you up in the morning. The first project that stops being an experiment hooked up to a computer and becomes a real piece of equipment. |
But first, one LED
All eight projects start in the same place: with one LED, one 220 Ω resistor and a breadboard. The dance sequencer is nothing more than a dozen or so things from this list, and you will learn them one at a time, in order.
That is why we do not start with the alarm clock. We start by unpacking the box and checking that everything is there. You have that in the checklist above. Then, in Part 4, you will get to know the breadboard and light your first LED. It will take a dozen or so minutes and will look modest, but it is exactly the same move you will make in Part 24, when you connect the battery to the finished alarm clock.
Do not skip this stage. The series is arranged so that each part builds on what the one before it used, and each time we add exactly one new thing.
Build checklist
Tick them off one by one. Your progress is saved in this browser.
0 / 36
Rules worth remembering
- 1
An LED has a right way round.
The longer leg is the plus (the anode). An LED plugged in backwards simply will not light up, and that does not mean it is broken.
- 2
An LED always goes together with a resistor.
Usually 220 Ω. Without it the LED shines really beautifully – exactly once.
- 3
We rewire the circuit with the power disconnected.
Pull out the USB cable, move the wires, check them once more, and only then plug it back in.
Summary
The XXL kit for learning to program, with an Arduino-compatible ATmega328, is a real treasure chest for anyone who wants to start their adventure with electronics and programming. The rich choice of components lets you build very different projects: from simple experiments with light, through smart sensors and displays, all the way to remote-controlled robots and home automation devices. It is an ideal base for learning, for children and teenagers as well as for adults. With such a wide range of parts, the only limit is your imagination.
If you already have your kit, unpack it, go through the checklist above and arrange everything in the organizer box. It will take you 15 minutes, and it will save you hours of searching in the parts to come.